If you’re looking for tips on how to place ceramic briquettes in gas grill, you’ve come to the right place. In this article, we’ll share some expert tips on how to get the most out of your ceramic briquettes. By following these tips, you’ll be able to enjoy delicious grilled food that is cooked evenly and tastes great. So let’s get started!
Grilling with ceramic briquettes is becoming increasingly popular because they offer several benefits over traditional charcoal briquettes. First, they last much longer – up to three times as long! This means that you’ll save money in the long run since you won’t need to purchase new briquettes as often. Ceramic briquettes also produce less ash than charcoal briquettes, so they’re much easier to clean up after grilling.
What You’ll Need:
- 1 Grill
- 1 Chimney starter
- 1 Bag of ceramic briquettes
- Lighter or matches
A Step by Step Guide How to Place Ceramic Briquettes in Gas Grill
Step 1. Gather the Essential Tools
You’ll need a few basic tools to help you place the ceramic briquettes in your gas grill. These include:
- Tongs or barbecue mitts to grip the briquettes
- A dustpan and brush to clean up any ashes
- A bucket of water to extinguish any embers
Step 2. Find the Right Spot
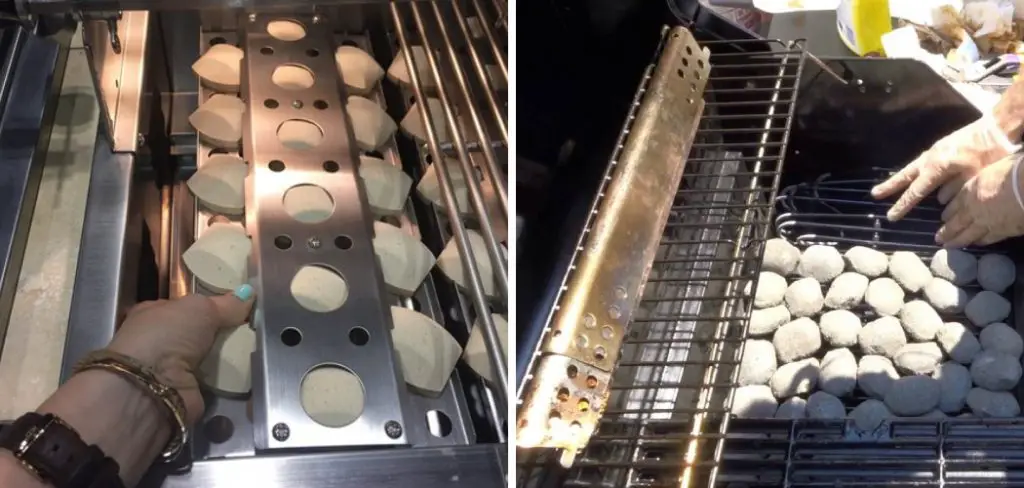
The spot on your gas grill where you place the ceramic briquettes will affect how well they heat your food. The best place is in the direct heat zone, preferably over the flame jets. If your gas grill doesn’t have a direct heat zone, try to place them near the burners.
Step 3. Read the Grill’s Manual
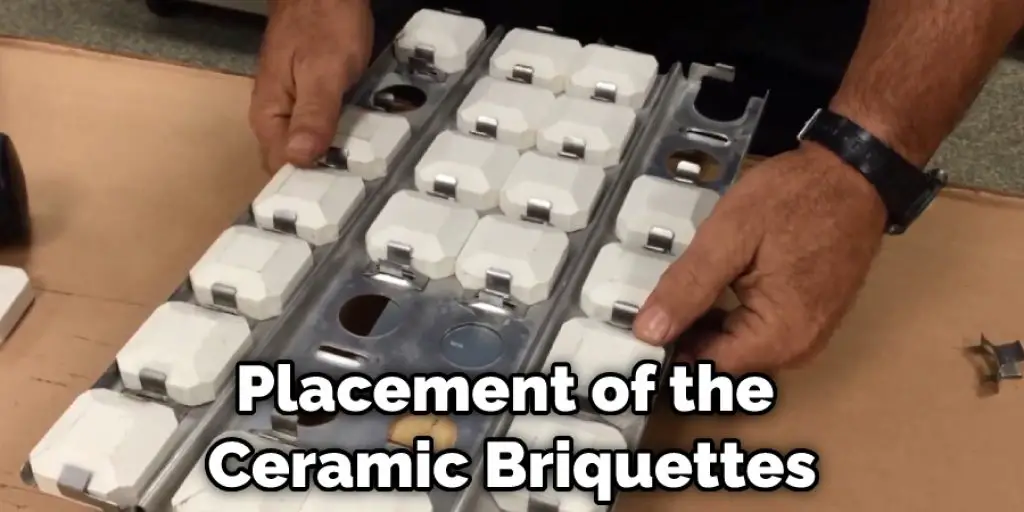
The placement of the ceramic briquettes is an important step for getting the most out of your gas grill. Each grill is different, so it’s important to read the manual before starting. Typically, the briquettes are placed on one side of the grill, beneath the grate. There may be specific instructions for your grill on where to place the briquettes for best results.
Step 4: Prepare the Grill
If you are using a gas grill, be sure to turn off the burners on the sides of the grill that will not be holding the ceramic briquettes. This will help evenly distribute heat and avoid any hot spots on the grill.
Place an aluminum foil pan in the center of the grill and fill it with water. The water will help to create humidity and keep your food moist. The pan will also help to prevent flare-ups.
Step 5: Add the Briquettes
If you’re using a gas grill, you’ll want to add the briquettes before turning on the flame. Then, please turn on the grill once in place and let it preheat for about 15 minutes. Then, you’re ready to start cooking!
For best results, arrange the briquettes in a single layer to heat evenly. If your grill has a cover, leave it open while the briquettes heat up. Then, once they’re hot, you can close the lid to cook your food.
If you’re using a charcoal grill, you’ll need to wait until the coals are white-hot before adding any food. This usually takes 20-30 minutes. Then, again, arrange the briquettes in a single layer for even cooking. Now that the briquettes are in place, you’re ready to start grilling!
Step 6: Monitor the Briquettes
You’ll want to check on the briquettes throughout cooking to make sure they’re still hot. If they start to cool down, add more briquettes to the grill.
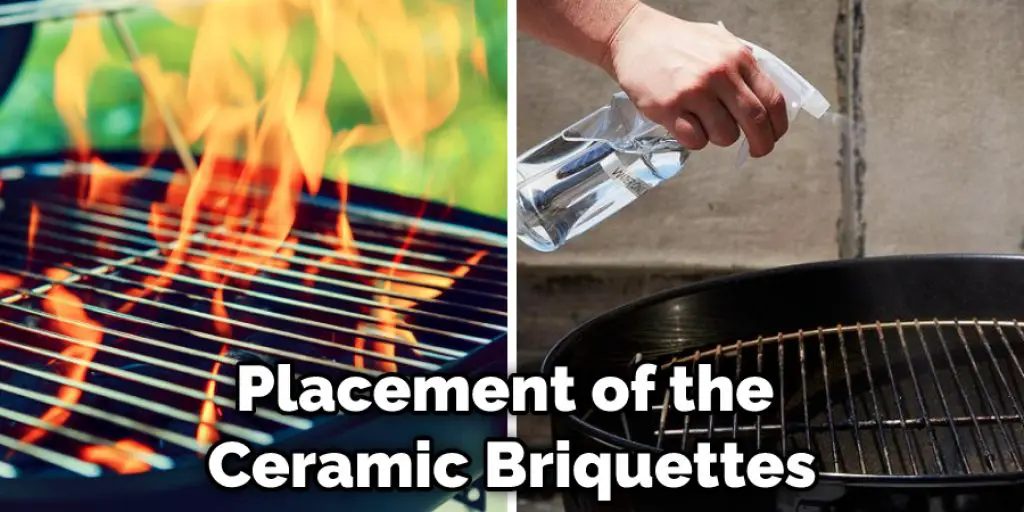
You’ll also want to keep an eye out for flare-ups. For example, if the fat from your food drips onto the briquettes, it can cause them to catch fire. If this happens, quickly move your food to another part of the grill or use a spray bottle of water to extinguish the flames.
Step 7: Clean Up
Once you’re finished cooking, allow the briquettes to cool completely before removing them from the grill. Be sure to dispose of them properly; don’t just leave them in your garbage can. The best way to get rid of the briquettes is to place them in a metal container and store them in a cool, dry place until you’re ready to use them again.
If you follow these steps, your food should be cooked to perfection! Ceramic briquettes are a great way to add flavor and heat to your grilled food. With a little practice, you’ll be a pro in no time! These steps will help in how to place ceramic briquettes in gas grill.
Tips and Warnings:
Tips:
- Make sure that your gas grill is off before placing the ceramic briquettes inside.
- Start by placing the briquettes in the back of the grill near the burners.
- If you are cooking something that requires a high level of heat, like a steak, you can place some of the briquettes in the front of the grill.
- Try not to overload the grill with too many briquettes; this can cause them not to cook evenly and lead to a fire hazard.
- Once you have finished cooking, properly extinguish any remaining embers before leaving the grill unattended.
Warnings:
- Do not place the briquettes directly on the burners.
- Do not use excessive briquettes, as this can lead to a fire hazard.
- Ensure to extinguish any remaining embers properly before leaving the grill unattended.
Are There Any Disadvantages of Ceramic Briquettes?
Ceramic briquettes have a few disadvantages. Here are some of them:
Higher Cost:
One potential disadvantage of ceramic briquettes is their cost. Ceramic briquettes are typically more expensive than other types of grill fuel, such as charcoal or gas.
Shorter Lifespan:
Ceramic briquettes also have a shorter lifespan than other options. Depending on how often you use your grill, you may need to replace the briquettes frequently.
Difficult to Clean:
Ceramic briquettes can be difficult to clean, especially if they are not properly maintained. If not cleaned regularly, the briquettes can become caked with grease and dirt, tough to remove.
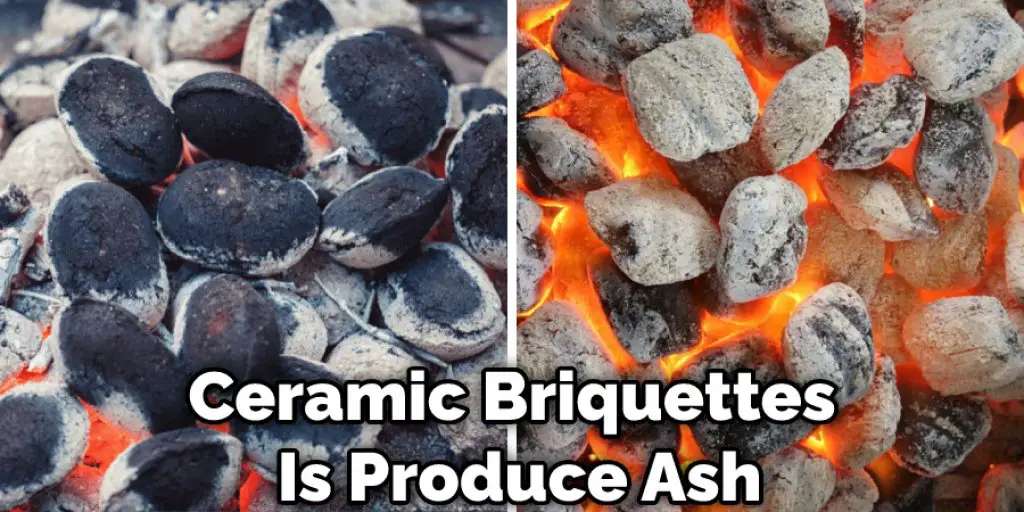
Can Produce Ash:
Another downside of ceramic briquettes is that they can produce ash. If you’re not careful, the ash can end up on your food or grill, which is both unappetizing and potentially dangerous.
Heating Takes Time:
One final disadvantage of ceramic briquettes is that they take longer to heat up than other options, such as gas. So, if you’re in a hurry to start grilling, you may want to choose another type of fuel.
Despite these disadvantages, ceramic briquettes have several advantages over other types of grill fuel. For one, they are eco-friendly and sustainable. They also last longer than most other fuels, produce less smoke than charcoal, and can reach higher temperatures than wood pellets. So if you’re looking for a more environmentally friendly and long-lasting option, ceramic briquettes may be the right choice.
What Are the Benefits of Placing Ceramic Briquettes in a Gas Grill?
When using a gas grill, you may have heard of people using ceramic briquettes to improve the cooking process. But what are the benefits of doing so? Here are some of the key advantages:
Ceramic briquettes help distribute heat more evenly, resulting in more consistent cooking.
They also absorb and radiate heat better than other briquettes, helping keep your food warm for longer periods of time.
In addition, because they don’t create any flare-ups, ceramic briquettes are ideal for cooking delicate foods that can easily burn.
So if you’re looking for a way to improve your gas grill cooking experience, consider using ceramic briquettes next time you fire it up!
How Do You Ignite Briquettes?
You’ll need a heat source and something to act as a wick to ignite briquettes. The most common way to do this is to use a piece of charcoal as your heat source and then light it with a lighter or match. Once the charcoal is lit, it will begin to heat the briquettes around it, eventually catching fire. You can also use a blow torch to light the briquettes, but be careful not to overdo it, or you could damage the ceramic.
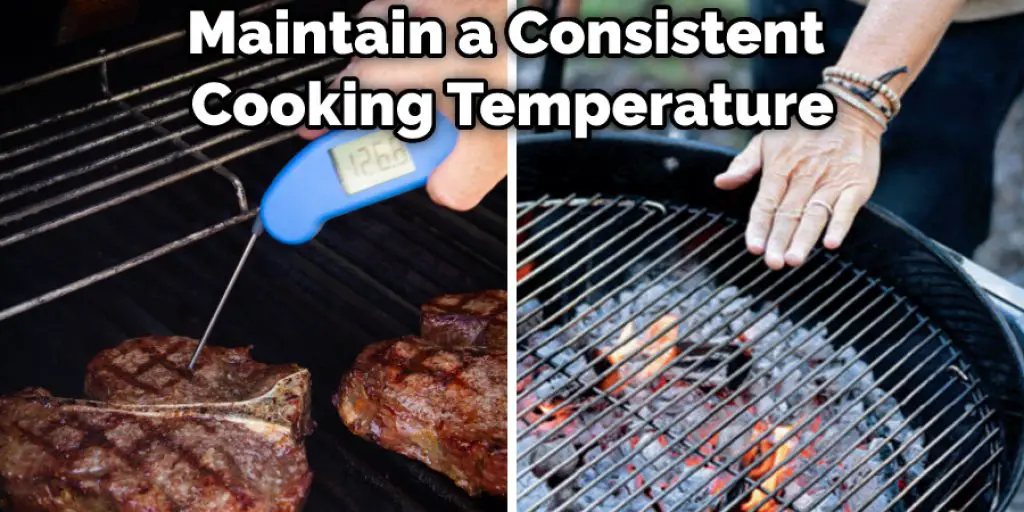
Once your briquettes are lit, you’ll need to wait for them to reach cooking temperature before beginning to cook. This usually takes about 15 minutes. Once they’re ready, you can place your food on the grill and cook it as you normally would. Just be sure to keep an eye on the temperature of the briquettes and add more as needed to maintain a consistent cooking temperature.
And that’s all there is to it! Placing briquettes in your gas grill is an easy way to get started with ceramic grilling. Just be sure to follow the tips above, and you’ll be cooking like a pro in no time. Happy grilling!
Does My Gas Grill Need Lava Rocks or Ceramic Briquettes?
If you have a gas grill, you may be wondering if you need to use lava rocks or ceramic briquettes. While both of these materials can help distribute heat evenly, they each have their own benefits and drawbacks.
Lava rocks are heat resistant and can retain heat for a long time. This makes them ideal for cooking food that takes longer, such as thick cuts of meat. However, lava rocks can be difficult to clean and give food a smoky flavor.
Ceramic briquettes are also good at distributing heat evenly. They don’t retain heat as well as lava rocks, but they’re easier to clean.
Conclusion
If you have a gas grill, it is important to use the right kind of charcoal. Briquettes made from ceramic are a good choice because they last longer and produce less ash than other types of briquettes. In addition, they do not contain any chemicals that can contaminate your food. Follow these steps on how to place ceramic briquettes in gas grill for best results.


